Our Favorite Cuts from Processing a Deer
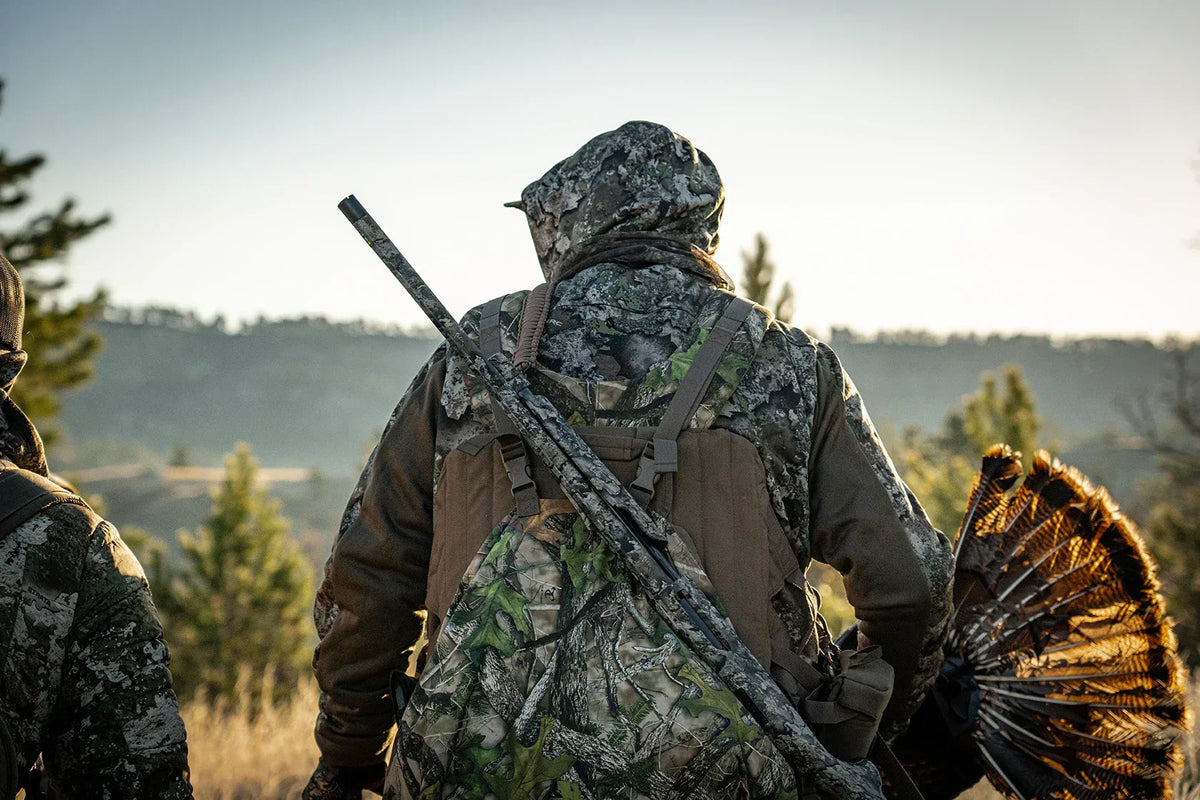
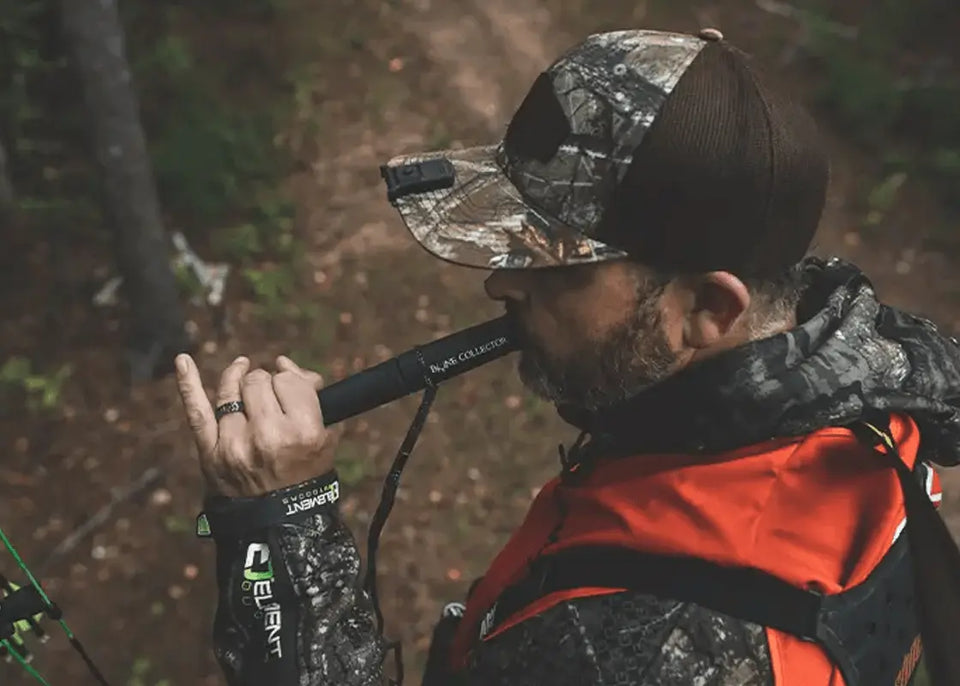
When the excitement from the tree stand and a perfectly-sent arrow result in a deer down, it’s definitely time for a celebration. But that’s when the real work begins. Hauling a deer out of the woods is a lot of work in its own right, but some people are intimidated by processing a deer themselves. Maybe they’ve never tried it, and aren’t sure how to get started. If you’re a new hunter or just haven’t tried butchering your own deer before, here are some tips for you to consider. Michael walks you through his process in the video below.
Why Process Your Own Deer?
The fall is a busy time of year for hunters, so it’s understandable why people might want to just bring a deer to a butcher. After all, you bring it in, drop it off, and come back in a few days to pick up your packaged meat. Unfortunately, you miss out on a lot with that approach. Some butchers might do large batches and mix deer up, and you don’t 100% know you’re getting your deer back. At that point, you might as well be buying packaged beef. By processing a deer yourself, you know exactly how that meat was treated from field to table. And that’s one of the biggest benefits of hunting – having access to fresh, clean, organic red meat is a major blessing. That was especially true during the pandemic. Hunters fared the meat shortages very well because they had freezers full of wild game to supplement traditional beef or pork.
Another benefit of processing a deer is the range of food options you can decide on. If you want to try a new sausage recipe or a different meat cut, you can pick and choose however you like. For example, do you want to try a standing rib roast? Go ahead. Maybe you prefer to cut individual steaks or leave a backstrap in a big chunk for the grill. When you do it yourself, you can make all those decisions.
Steps to Processing a Deer
We’ve covered deer processing pretty significantly before, so we won’t go into that as much here. But here are the basic steps of butchering a deer. The process can take anywhere from a few hours to a whole day, depending on your skill level, familiarity, and the cuts you’re preparing.
- Skinning – after you get the deer back home, the first step is to remove the hide so you can access all that delicious red meat. It helps if you can lift the deer off the ground with a gambrel and rope so you can get all the way around the animal and keep the meat clean. The sooner you can skin a deer, the easier it will be. The hide on freshly killed deer will easily peel off with a little assistance from a dull knife. But a deer that’s been frozen for a few days outdoors, maybe hanging on the meat pole, is going to take more work.
- Quartering the Deer – after the hide is removed, it’s time to start breaking the animal down into manageable pieces. Quartering a deer involves removing both the hind and front legs. You will also usually remove the tenderloins (inside the deer), backstrap/loin, and neck and rib meat at this time.
- Deboning – once you have smaller pieces to work with, it’s time to remove the meat from the bones. This is where the animal starts really feeling like meat. In most cases, you can just follow muscle seams and trace around the bones to remove the meat in big chunks. For venison, it’s good to get all the fat and sinew off of the meat, since it has a strange taste/texture and can cause the meat to have that “gamey” flavor people complain about.
Best Deer Meat Cuts
Speaking of flavor, let’s talk about the specific cuts you might get from a deer. After gutting, skinning, and deboning a deer, many people are surprised about how much meat is left. A small doe, for example, can produce a good grocery bag or two or meat, which goes fast when feeding a family. But a larger buck can produce pretty significant amounts of meat.
- Backstrap – this is a special cut – often the most prized part of a deer – and is taken from along both sides of a deer’s spine. After removing it, take care to remove all the sinew and fat, and you’ll be left with a long, tender strip of meat. You can cut it into steaks of whatever thickness you prefer (you call the shots when processing a deer, remember?). Or you can leave it in larger sections to smoke or grill.
- Tenderloin – these two small muscles are taken from the inside of a deer, located near the hips. Many people fry these up right away, cause they’re by far the most tender part. It is hard to beat a venison tenderloin and egg breakfast in deer camp.
- Hind Quarters – the rear legs have a significant amount of meat on them. You can pull larger cuts for steaks, leave big muscle groups intact for roasts, leave it whole for the grill or smoker, or put the miscellaneous trim in the grind pile.
- Front Shoulders – depending on your shot placement, there could be a good amount of meat spoilage on the front shoulders. You can pull some steaks from these quarters, but a lot of it can go in the grind pile for sausage or burger.
- Neck – the necks have a lot of connective tissue in them. Many people toss the neck cuts into the grind pile, but you can also let it slow cook all day and treat it much like a roast, and that connective sinew renders out and produces a tender meat.
Processing a Deer with Meat Your Maker
After your meat is cut and sitting in various piles, the fun work begins. This is where you can think ahead to the meals you’ll prepare, and decide how the meat should be packaged. In the video above, we talk about the MEAT! Your Maker™ products, and we can’t recommend them enough. From grinders, vacuum sealers, or slicers, they’ve got your deer processing needs covered.
One of the most important parts of processing a deer is packaging the meat so that it won’t spoil in the freezer. When you use a vacuum sealer for deer meat, it sucks the air out and prevents freezer burn (and thus, meat waste). Try to freeze the meat in thin layers so it will freeze well. You can divide the steaks, ground meat, etc. up into whatever portion sizes you want for your family.
Grinding meat is the most fun step because it involves some experimentation with recipes. When grinding venison, cube the meat up into 2-3” chunks and set aside in a bin. Because venison is very lean, add some beef or pork fat. Beef fat works well when grinding meat for venison burgers, while pork fat is perfect when grinding up some sausage. You can also add bacon bits, cheese, and other spices, depending on your taste preferences. As a general rule, you should add at least 2 pounds of beef fat for every 10 pounds of venison (for general burger for chili, tacos, etc.) or 1 pound of pork fat for every 3 pounds of venison (for sausage patties, links, etc.). When you’re making sausage, do some test batches and fry up ½ lb at a time to check the seasoning level before you do everything. That way, you’ll end up with a lot of sausage you really love rather than spoiling a whole batch.
Processing a deer does take some effort and time, but it’s so worth it. Besides the privilege of being involved from the woods to the table, it lets you try different cuts and recipes based on what you and your family enjoy. That’s what makes it so special.